一、本機環境
這節將說明在本機環境進行開發與測試。
⬛編輯Web.config檔,在configuration節點底下,新增下列參數設定。
<configuration>
  <appSettings>
    <add key="ServerName" value="localServer"/>
    <add key="API" value="http://localhost"/>
  </appSettings>
  <connectionStrings>
    <add name="DB" connectionString="Data Source=.;Initial Catalog=Northwind;Persist Security Info=True;User ID=userName;Password=password" providerName="System.Data.SqlClient" />
  </connectionStrings>
    <system.web>
      <compilation debug="true" targetFramework="4.0" />
    </system.web>
</configuration>

⬛編輯Default.aspx.cs程式檔,在Page_Load事件中,新增下列程式碼,主要目的是要把Web.config檔中的參數設定顯示於頁面上。
protected void Page_Load(object sender, EventArgs e)
{
    Response.Write("ServerName=" + System.Configuration.ConfigurationManager.AppSettings["ServerName"].ToString() + "<BR/>");
    Response.Write("API=" + System.Configuration.ConfigurationManager.AppSettings["API"].ToString() + "<BR/>");
    Response.Write("DB=" + System.Configuration.ConfigurationManager.ConnectionStrings["DB"].ToString() + "<BR/>");
}

⬛最後按下[開始偵錯 ]執行程式,確認網頁程式有將本機環境所使用的參數檔內容,成功的顯示出來。

二、正式環境
這節將延續第一節本機環境結果,說明在本機開發作業完成後,如何進行正式環境部署。
⬛編輯Web.Release.config檔,在configuration節點底下,新增下列參數設定。
  <appSettings>
    <add key="ServerName" value="ReleaseServer" xdt:Transform="SetAttributes" xdt:Locator="Match(key)" />
    <add key="API" value="http://10.10.10.51" xdt:Transform="SetAttributes" xdt:Locator="Match(key)" />
  </appSettings>
  <connectionStrings>
    <add name="DB" connectionString="Data Source=ReleaseHostName;Initial Catalog=Northwind;Persist Security Info=True;User ID=userName;Password=password" providerName="System.Data.SqlClient"
         xdt:Transform="SetAttributes" xdt:Locator="Match(name)"/>
  </connectionStrings>

⬛滑鼠移動至方案總管的專案WebApplication1項目上點擊右鍵,於快顯選單中點選[發行]功能,開啟發行Web視窗,選擇先前新增好的設定檔Release,按下[發行]鈕。

⬛發行作業完成後會自動開啟網頁瀏覽,查看參數檔內容,已經改為正式環境所需要的內容值。

⬛最後再到正式環境路徑下驗明正身,打開Web.config檔,再次確認部署的內容值。

三、測試環境
⬛測試環境的部署方式,請仿照第二節正式環境來依樣畫葫蘆,就可以完成測試環境的部署。
四、開發環境
在多人開發的情形下,可能會有需要建置開發環境,這節將說明如何新增Develop設定檔來進行部署作業。
⬛ 開啟Visual Studio 開發工具>建置>組態管理員。

⬛點擊使用中的方案組態下拉選單,選擇[新增]項目。

⬛在新增方案組態視窗中,輸入名稱Develop,複製設定值來源Debug,勾選建立新專案組態,先按下[確定]鈕,然後在組態管理員視窗中再按下[關閉]。

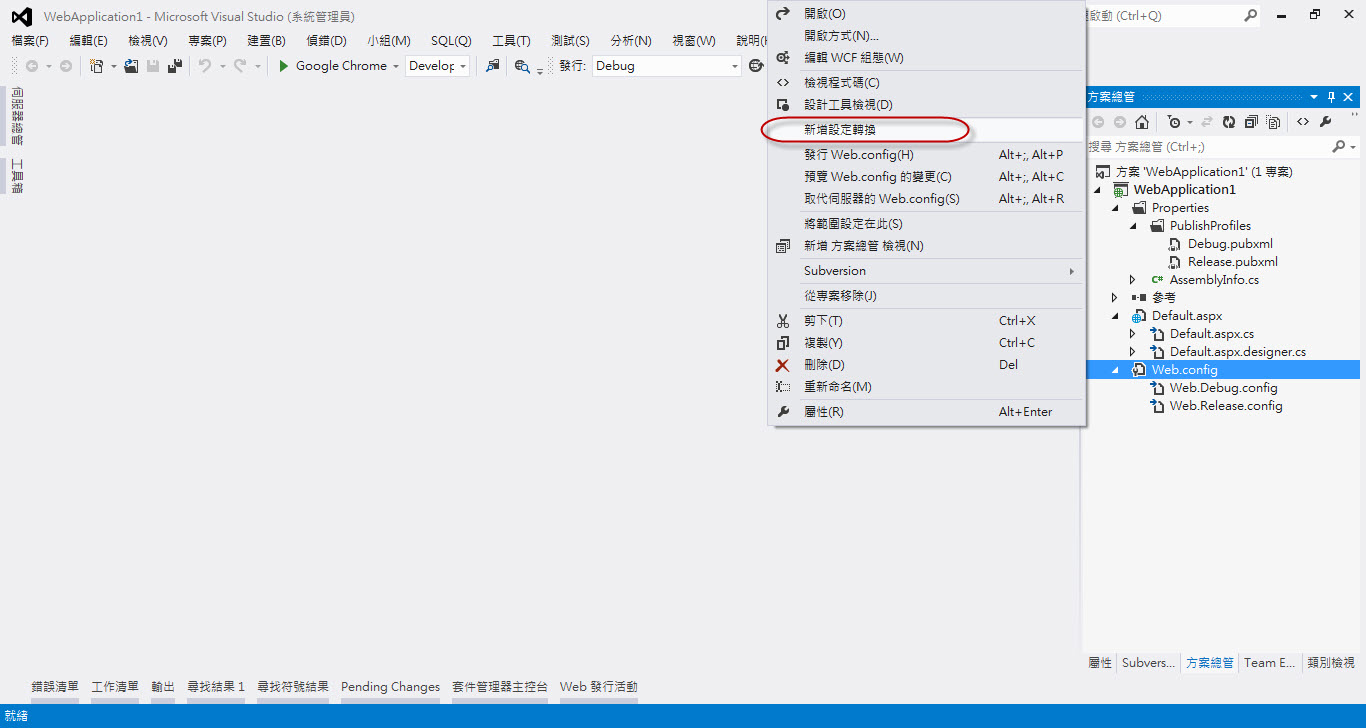
⬛滑鼠移動至方案總管的Web.config項目上點擊右鍵,選擇[新增設定轉換]功能。
⬛此時在Web.config檔的依存檔案中,會增加一個Web.Develop.config檔

⬛編輯Web.Develop.config檔,在configuration節點底下,新增下列參數設定。
  <appSettings>
    <add key="ServerName" value="DevelopServer" xdt:Transform="SetAttributes" xdt:Locator="Match(key)" />
    <add key="API" value="http://10.10.20.36" xdt:Transform="SetAttributes" xdt:Locator="Match(key)" />
  </appSettings>
  <connectionStrings>
    <add name="DB" connectionString="Data Source=DevelopHostName;Initial Catalog=Northwind;Persist Security Info=True;User ID=userName;Password=password" providerName="System.Data.SqlClient"
         xdt:Transform="SetAttributes" xdt:Locator="Match(name)"/>
  </connectionStrings>

⬛滑鼠移動至方案總管的專案WebApplication1項目上點擊右鍵,於快顯選單中點選[發行]功能,開啟發行Web視窗。執行功能在選取或匯入發行設定檔(下拉選單)>新增設定檔。

⬛ 在出現新增設定檔窗後,輸入設定檔名稱為Develop後按下[確定]。

⬛輸入連線參數,發行方法選擇Web Deploy(單鍵發行),伺服器輸入localhost,網站名稱輸入DemoSite/DevelopWebApp,目的地URL輸入localhost/DevelopWebApp/Default.aspx,然後按[下一個]。

⬛組態選擇Develop,然後按[下一個]。

⬛可直接按下[發行]鈕,開始進行開發環境的部署。

⬛可以在Visual Studio 開發工具的輸出視窗中,查看發行作業的歷程記錄,發行作業完成後會自動開啟網頁瀏覽,查看參數檔內容,已經改為開發環境所需要的內容值。

⬛最後再到開發環境路徑下檢查Web.config檔,再次確認部署的內容值。

沒有留言:
張貼留言